You can authenticate a phone number by delivering a one-time password (OTP) via a phone call. To do this, you call the number and read a sequence of digits to the recipient via text-to-speech. To verify the number, the user needs to confirm the digits by entering them using the phone’s keypad.
Developers commonly use voice OTP to verify new user registrations, online transactions, and login sessions in an app or website. In this blog post, we walk you through a sample implementation of sending a Voice OTP using the Plivo Voice platform and PHLO, our visual workflow builder. Plivo’s direct carrier connectivity and intelligent routing engine guarantee the best call connectivity and quality.
Prerequisites
Before you get started, you’ll need:
- A Plivo account — sign up for one for free if you don’t have one already.
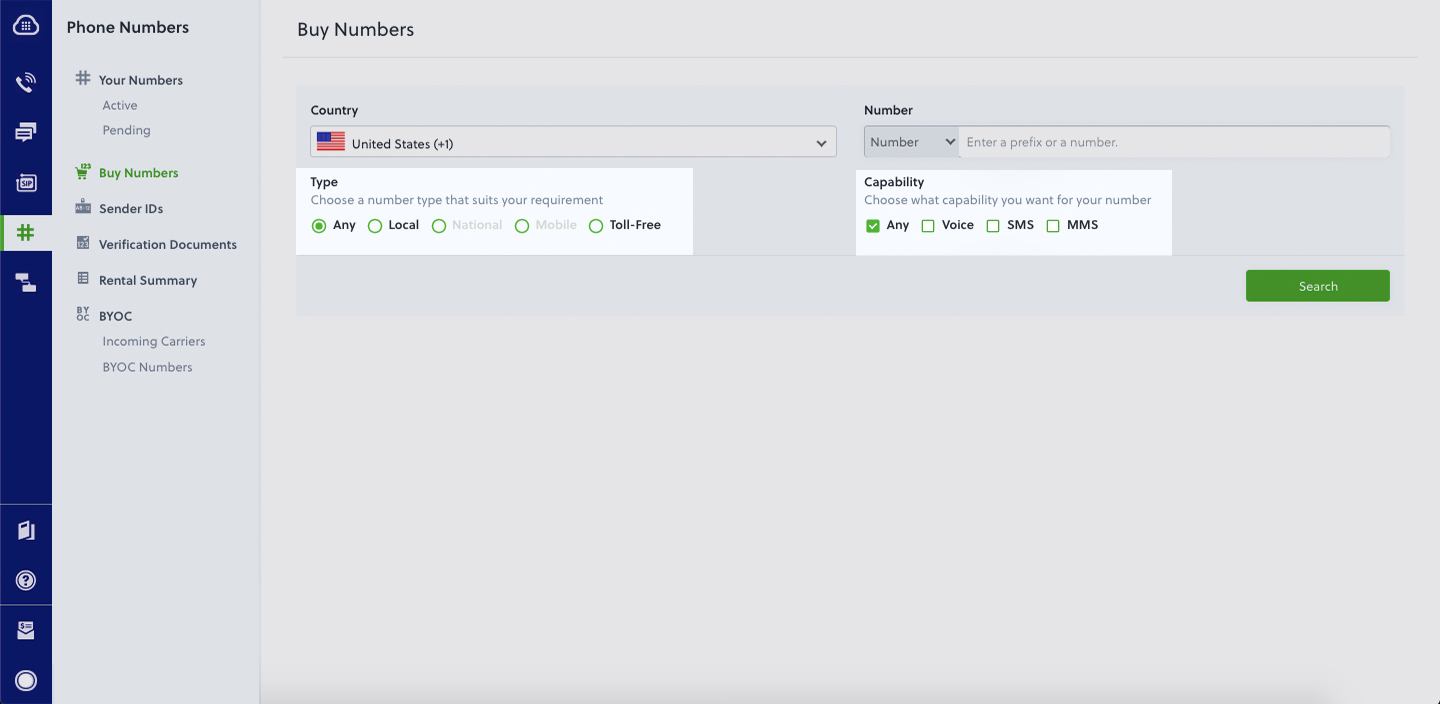
- A voice-enabled Plivo phone number if you want to receive incoming calls. To search for and buy a number, go to Phone Numbers > Buy Numbers on the Plivo console.

- Rails and Plivo Ruby packages — run gem install rails and gem install plivo to install them.
- ngrok — a utility that exposes your local development server to the internet over secure tunnels.
Create a PHLO to send OTP via phone call
PHLO lets you construct your entire use case and build and deploy workflows visually. With PHLO, you pay only for calls you make and receive, and building with PHLO is free.
To get started, visit PHLO in the Plivo console and click Create New PHLO. On the Choose your use case window, click **Build my own. The PHLO canvas will appear with the Start node. Click on the Start Node, and under API request fill in the Keys as from, to, and otp, then click Validate. From the list of components on the left-hand side, drag and drop the Initial Call component onto the canvas and connect the Start node with the Initiate Call node using the API Request trigger state.
Configure the Initiate Call node with the using the From field and in the To field. Once you’ve configured a node, click Validate to save the configurations. Similarly, create a node for the Play Audio component and connect it to the Initiate Call node using the Answered trigger state. Next, configure the Play Audio node to play a specific message to the user — in this case, “Your verification code is <otp>.” Under Speak Text, click on Amazon Polly and paste the following:
Click Validate to save.
Connect the Initiate Call node with the Play Audio node using the Answered trigger state. After you complete the configuration, provide a friendly name for your PHLO and click Save.
Create a Rails Project
As we have Rails and its dependencies installed, we can use them to create a new Rails project. As the initial step, using rails we can auto-generate code in the ruby on rails folder structure. Use the below command to start your Rails project.
This will create a plivotest directory with the necessary folders & files for development.
Install Modules
As we have the rails application created, now, let’s add Plivo-Ruby by modifying the Gemfile. Open the Gemfile in any IDE/text-editor and add the following line:
You can use the below command to install the Plivo-Ruby gem into the bundle:
Create a Rails Controller
Change the directory to our newly created project directory, i.e, plivotest directory and run the below command to create a rails controller for Voice OTP.
This will generate a controller named plivo_controller in the app/controllers/ directory and a respective view will be generated in app/views/plivo directory. We can delete the View as we will not need it.
Run the PHLO to send OTP via phone call
Now you can trigger the PHLO and test it out. Copy the PHLO ID from the end of the URL of the workflow you just created. You’re also going to need your Auth ID and Auth Token.
Now, You have to open the app/controllers/plivo_controller.rb file and add the following code:
Substitute actual values for <auth_id>, <auth_token>, and <PHLO_ID>. Save the file and run it with the command
Add a Route
Now, to add a route for the outbound function in the PlivoController class, open the config/routes.rb file and change the line:
to
Test & Validate
Now the plivo_controller is ready for your first outbound call, you can use the below command to initiate your first outbound using Rails and Plivo Ruby SDK.
Run the following command in a new terminal tab to start the redis.
And you should see your basic server app in action as below:
Boom — you’ve made an outbound call with the OTP as a text-to-speech message.
Simple and reliable
And that’s all there is to send OTP via a phone call using Plivo’s Ruby SDK. Our simple APIs work in tandem with our comprehensive global network. You can also use Plivo’s premium direct routes that guarantee the highest possible delivery rates and the shortest possible delivery times for your 2FA SMS and voice messages. See for yourself — sign up for a free trial account.


