Your company has settled on Plivo to handle its voice and messaging communications, and now it’s your job to start integrating Plivo into your company’s applications. As a first project, let’s write a cloud function in Node.js to send SMS messages through Plivo.
Create a Firebase project
We’ll use Firebase, Google’s mobile app development tool, to implement the cloud function. To initialize a Firebase project, go to firebase.google.com and click Go to Console in the upper right corner. Create a Firebase account if you don’t have one already. Firebase has a free Spark plan and a pay-as-you-go Blaze plan. To make outbound networking requests, you must sign up for Blaze. From the Firebase console, click on the ‘Add project’ button to create a new project. Fill in the details on the next few screens and click Continue. Firebase will create the project and take you to its overview page.
Write and deploy a cloud function
Now we can start writing the cloud function in the Firebase CLI to send a message using Plivo’s SMS API.
Install the Plivo SDK and Firebase CLI
We’ll presume you already have your Node.js environment set up. Change to the directory into which you want to install the Plivo Node.js SDK and Firebase CLI and run
Set up the Firebase CLI
Once the Firebase CLI and Plivo Node.js SDK are installed in your local project directory, you can set up Firebase locally and write a cloud function.
Run firebase login to log in to your Firebase account.
Initialize a new Firebase project in your local setup by running firebase init. You’ll be asked to select the Firebase features you want to set up. Use the down arrow key to navigate to Functions and press space bar to select it, then press Enter.

You’ll be asked to select whether you want to use an existing project or a new one. Select “Use an existing project” to use the project you just created in the Firebase console.
You’ll be asked to select the language you wish to write the function in. Choose “JavaScript,” and in the next step, choose yes to install the dependencies and complete the setup.
Write a cloud function
Once the setup is complete, open the project in a text editor to write the function to send SMS messages. Check the project’s folder structure to find the boilerplate code added by Firebase.
Before writing the code, we need to add Plivo as a dependency in the package.json file and run npm install to add the dependency to package-lock.json.
You can use the code below to replace the index.js file with a cloud function to send SMS messages using Plivo’s Node.js SDK.
Find your Auth ID and Auth Token
You have to have proper credentials before you can use the Plivo API. We provide an Auth ID and Auth Token on the Overview page of the Plivo console. Replace the placeholders AUTH_ID and AUTH_TOKEN in the above code with the values from the console.

Choose a phone number
You need an SMS-enabled Plivo phone number to send messages to the US and Canada. Check the Numbers screen of your Plivo console to see what numbers you have available and which of them support SMS capabilities. You can also buy numbers from this screen and use it as the SRC number instead of “+14156667777” in the above code.

SMS regulations vary from country to country. For messages to countries other than the US and Canada, you might want to register an alphanumeric sender ID for your messages. You can learn more about the use of alphanumeric sender ID and register one from the Messaging > Sender IDs page of the console.
Deploy the cloud function
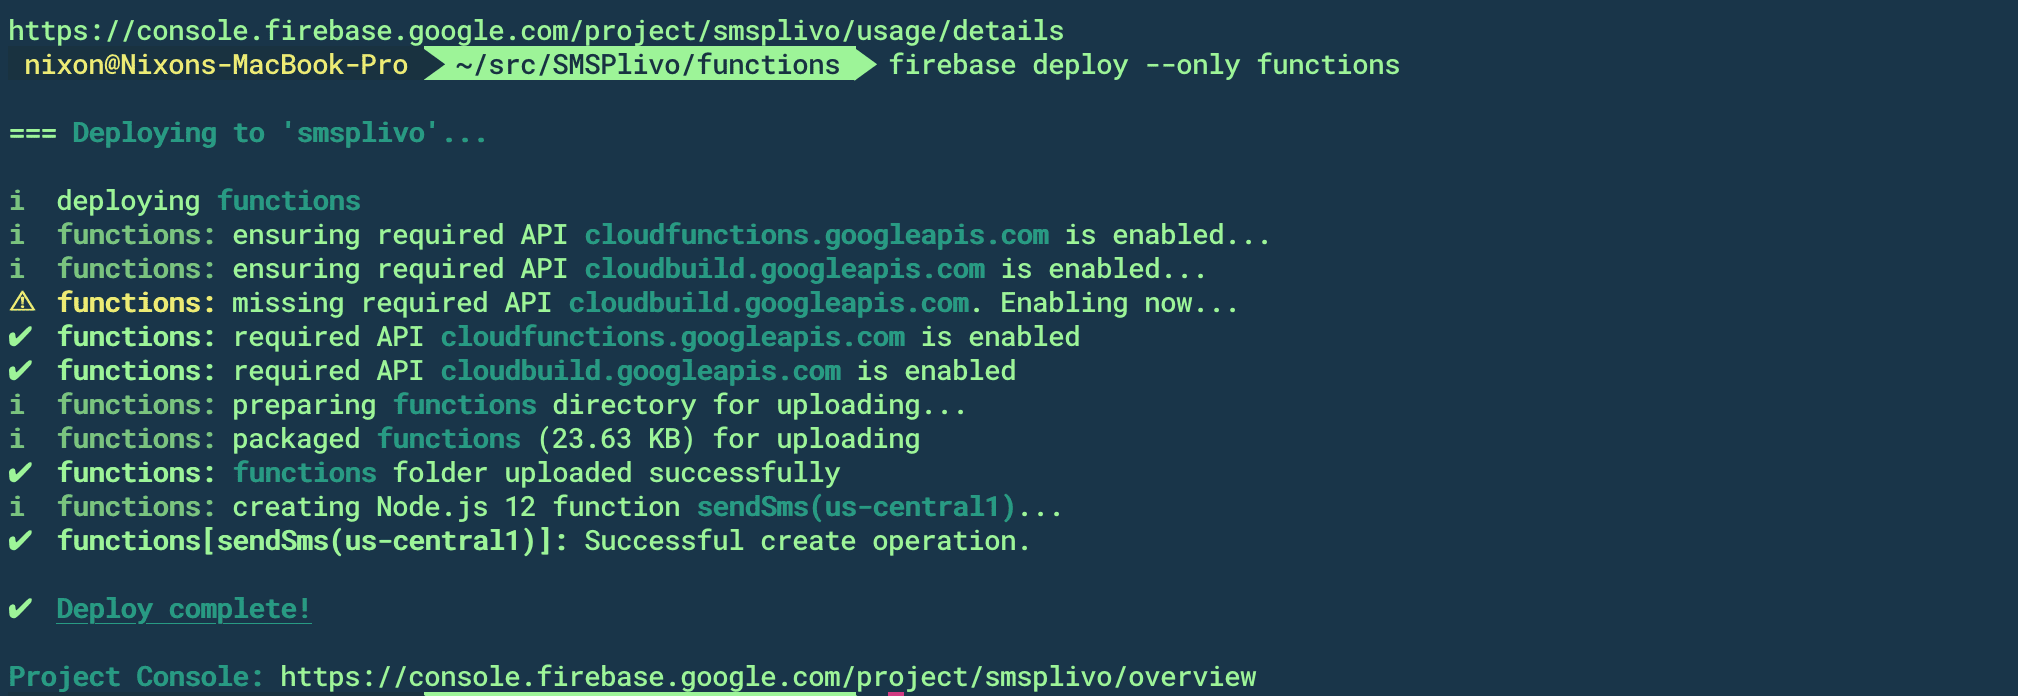
Once you’re done writing the cloud function and have replaced all the necessary placeholders with actual values from the Plivo console, you can deploy the function to the Firebase cloud by running firebase deploy --only functions, which makes it available to run via URL.

Send an SMS message
Now go to the Firebase console, navigate to your project, and click on the Functions option on the left navigation bar. Copy the URL assigned to your project into a new browser tab and press enter. Voilà! The phone number you specified will receive the SMS message body configured in the code.
Note: If you’re using a Plivo trial account, you can send messages only to phone numbers that have been verified with Plivo. You can verify a phone number using the Phone Numbers > Sandbox Numbers page of the console.
Next step: incoming messages
Of course sending messages is only half of the equation. You can use Plivo and Firebase cloud functions to receive incoming messages too. For your next project, give that a try — create an application to receive SMS messages using Node.js, following the instructions in our Quickstart Guide.
Haven’t tried Plivo yet? Getting started is easy and only takes 5 minutes! Sign up today.


