


Overview
This guide shows how to receive and automatically respond to incoming MMS messages on a Plivo number, as you might want to do for someone who’s out of the office or who leaves the company.
Here’s how to use Plivo’s SMS APIs to build this use case.
Prerequisites
To get started, you need a Plivo account — sign up with your work email address if you don’t have one already. To receive incoming messages you must have a Plivo phone number that supports MMS; you can rent numbers from the Numbers page of the Plivo console or by using the Numbers API. If this is your first time using Plivo APIs, follow our instructions to set up a Ruby development environment and a web server and safely expose that server to the internet.
Create a Rails server to receive MMS messages
Change to the project directory and run this command to create a Rails controller for inbound messages.
This command generates a controller named plivo_controller in the app/controllers/ directory and a respective view in the app/views/plivo directory. We can delete the view as we don’t need it.
Create the autoresponder application using Rails server
Edit app/controllers/plivo_controller.rb and paste into it this code.
Add a route
Edit config/routes.rb and change the line
to
Test
Start the Rails server
You should see your basic server application in action at http://localhost:3000/plivo/receive-mms/.
Replace the auth placeholders with your authentication credentials from the Plivo console
Note:
- We recommend that you store your credentials in the auth_id and auth_token environment variables, to avoid the possibility of accidentally committing them to source control. If you do this, you can initialize the client with no arguments and Plivo will automatically fetch the values from the environment variables. You can use os module(os.environ) to store environment variables and fetch them when initializing the client.
- Sending and receiving MMS is only available in the United States and Canada.
Expose your local server to the internet.
Create a Plivo application
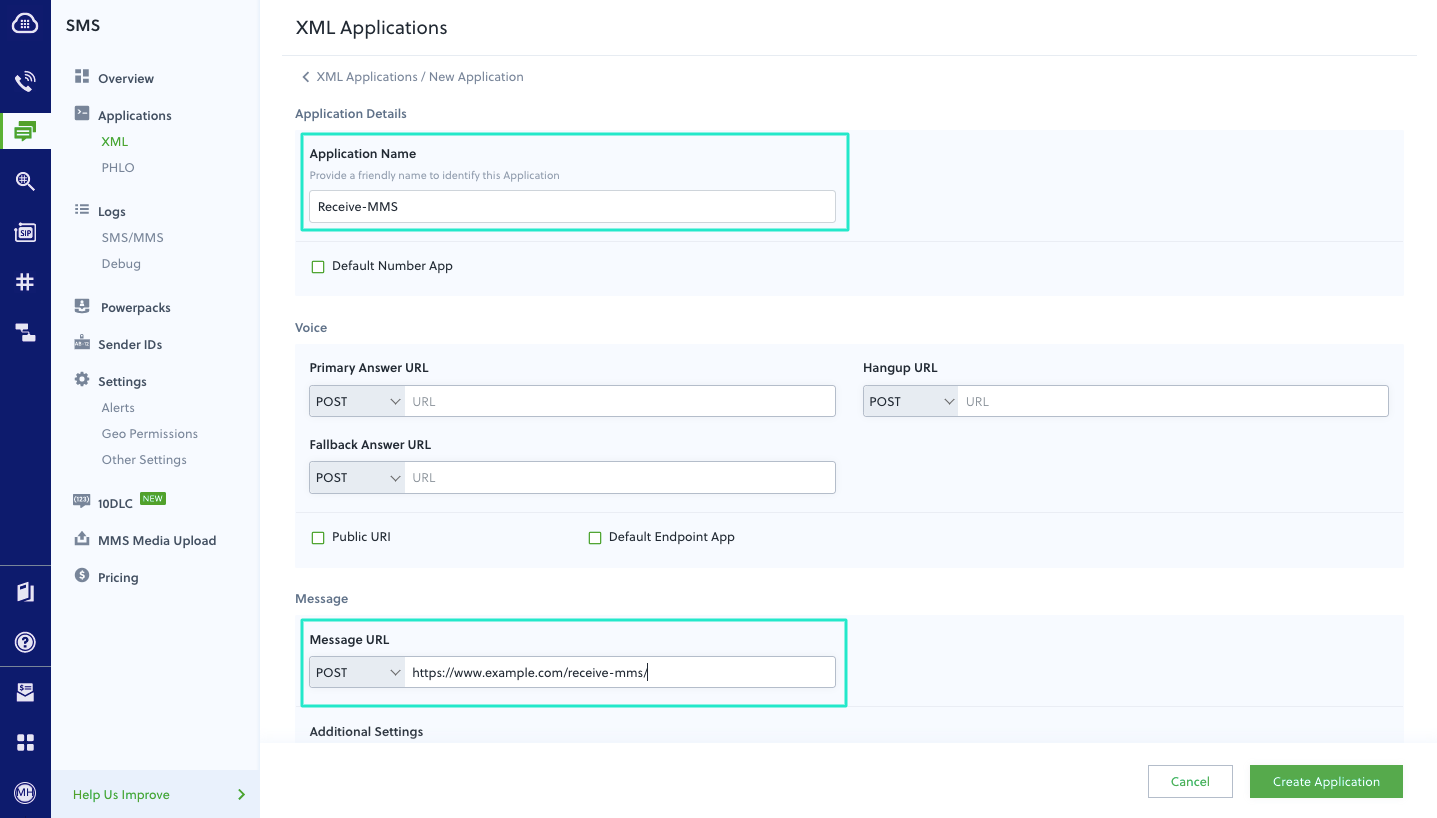
Associate the Rails server you created with Plivo by creating a Plivo application. Visiting Messaging > Applications and click Add New Application. You can also use Plivo’s Application API.
Give your application a name — we called our Receive-MMS. Enter the server URL you want to use (for example https://<yourdomain>.com/receive-mms/) in the Message URL field and set the method to POST. Click Create Application to save your application.
Assign a Plivo number to your application
Navigate to the Numbers page and select the phone number you want to use for this application. From the Application Type drop-down, select XML Application. From the Plivo Application drop-down, select Respond-MMS (the name we gave the application).

Click Update Number to save.
Test
Send a text message to the Plivo number you specified using any phone. The message should be replied to the destination number you specified.
Note: If you’re using a Plivo Trial account, you can make calls only to phone numbers that have been verified with Plivo. You can verify (sandbox) a number by going to the console’s Phone Numbers Sandbox Numbers page.
Haven’t tried Plivo yet? Getting started is easy and only takes minutes. Sign up today.


