Businesses use call forwarding all the time to route incoming calls to available agents, extensions, or departments that cater to the caller’s needs. Creating a call forwarding app is simple when you use Plivo High Level Objects (PHLO), our visual workflow design studio, which lets you build applications without writing any code.
Prerequisites
Before you get started, you’ll need:
- A Plivo account — sign up for one for free if you don’t have one already.
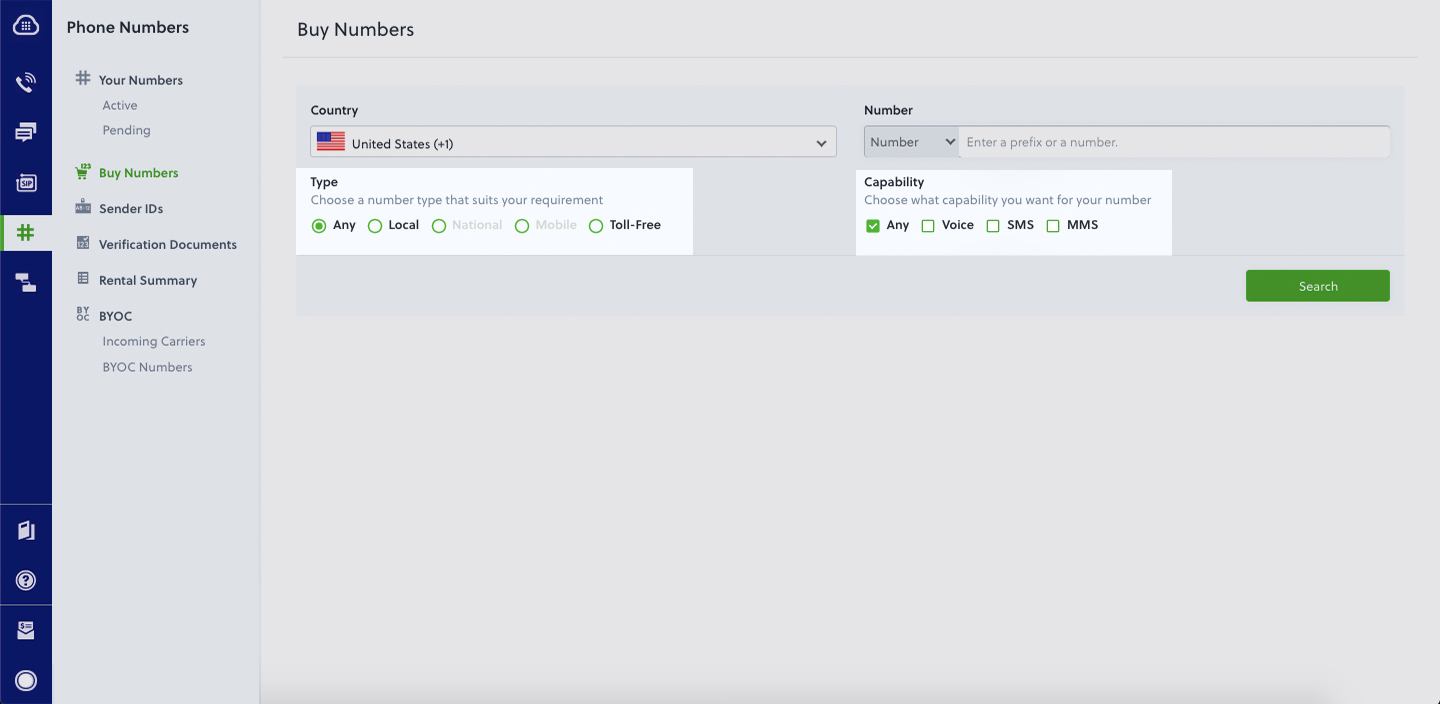
- A voice-enabled Plivo phone number if you want to receive incoming calls. To search for and buy an available number, go to Phone Numbers > Buy Numbers on the Plivo console.

Create a PHLO to forward calls
PHLO lets you construct your entire use case and build and deploy workflows visually. With PHLO, you pay only for calls you make and receive, and building with PHLO is free.
To get started, visit PHLO in the Plivo console and click on the Create New PHLO button. A pop-up window gives you a list of prebuilt templates to start with. Choose Call Forwarding and click Create Application to create a PHLO with the prebuilt components to build a call forwarding workflow.

Now click on the Call Forward node, then add configuration information for the node in the right pane. Remove the dummy numbers from the “To” field and use a valid phone number in E.164 format. The liquid tag `` in the From field will automatically pick up the Caller number and set it as caller ID to forward the call. If you wish to hard code the caller ID number, enter a valid number here. Click Validate to save the configuration.

That’s all we’re going to do for now — we told you it was simple. Give the PHLO a name by clicking on the pencil icon in the upper left, then click the Save button in the upper right.
Activate the PHLO on a Plivo number
Before you can receive a call using this PHLO, you have to assign it to a Plivo number. Go back to the Plivo console and click on Phone Numbers on the left nav bar. From the list of Your Numbers, click on the number you want to use. On the next screen, from the Application Type drop-down, choose PHLO. From the PHLO Name drop-down, choose the PHLO you just created. Then click Update Number at the bottom of the screen.

Guess what? You’re done! You don’t have to run a program for this PHLO to work. Just call the Plivo number you specified and you should get the call forwarded to the phone number specified in the PHLO.
Conclusion
And that’s all there is to build a call forwarding app using PHLO, Plivo’s visual workflow design studio. You can edit this PHLO app to forward calls to a series of numbers, route calls to different numbers depending on whether it’s during or after business hours, do timezone-based routing, or implement other call forwarding scenarios to meet your needs.
Haven’t tried Plivo yet? Getting started is easy and only takes five minutes! Sign up today.


